Mike deserves 99% of the credit for this, but I’m not above taking my 1%.
Mike deserves 99% of the credit for this, but I’m not above taking my 1%.


God bless the kind people at American Express. Each week, sometimes 2-3 times a week, they send me a nice letter to let me know that they approve of me. They’re probably the friendliest pen pals I’ve ever had. To make things better, they even send me a Self-Addressed Bulk Postage Paid Envelope so that I can keep in touch with them from time to time. Things are pretty busy around here, so I don’t have much time to write responses. Normally, I’ll send them a pizza coupon, or a Chinese menu, or whatever else I get in the mail that day, just to let them know that I care about them as well. Certainly, it’s not as reassuring as having them tell me that they approve of me each week, but it’s the least I can do for them. After all, I’ve started to grow distinctly suspicious that they may have other pen pals in my building.
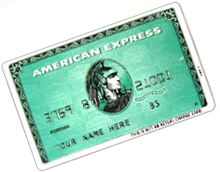
Either way, AmEx has lovingly redoubled their interest in my self-happiness by sending me little gifts with their thoughtful messages of approval. You may be familiar with the magnetic credit cards they mail out with the ominous “Your Name Here” message that cast you a daunting leer every time you get more cream for your coffee.
As it turns out, these magnets delaminate quite easily. And, as they’d already held various family pictures to my stainless steel fridge, I realized the master plan behind my pals at AmEx: cut out the middle man.
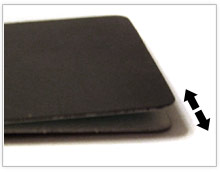
Step 1: Pull apart the edges of the magnet slowly until it begins to separate. You’ll notice that the adhesive continues to stick to the magnet side, rather than the plastic card side (those kids thought of everything!) This way this project requires no art supply run as you should have everything you need at home (photo, magnet, scissors) and that’s it!
Step 2: Cut the magnet to slightly larger size than your photo. If your picture is larger than a wallet-size, you may need to crop the photo to fit the magnet.
Step 3: Adhere the magnet, pressing firmly at the corners.
Step 4: Cut the magnet flush with scissors or an X-acto Blade
Step 5: Place on fridge and lovingly adore.
That’s it! With friends like these…eh, Gary?